PC/Server에서 Darknet Training -> Jetson-Nano로 반영하는 방법 (가장 바람직한 방법, YOLO3 테스트 2020/2/23)
- # darknet yolov3 weight -> onnx ->tensorrt
- (Training is OK – In darknet, Weights Convert and Inference is OK)
(원천) /usr/src/tensorrt/samples/python/yolov3_onnx
TRY This ==> https://github.com/penolove/yolov3-tensorrt (Darknet Trained Weights->ONNX->Engine is OK 2020.02.28)
데모 요구사항 : YOLOv3-608(with an input size of 608×608)
# convert darknet weight into onnx format
$python3 yolov3_to_onnx.py
# convert onnx format into tensorrt format
$python3 onnx_to_tensorrt.py
*위의 penolove 링크 하단 For jetson nano 부분 읽어보기

(참고1) python3 yolov3_to_onnx.py  관련으로는 "TypeError : buffer is too small for requested array" 에러 (2020/2/27, yolov3_to_onnx.py Line325)  Solution : Check cfg file (using when Darknet Training file) Solved(20200228)

(참고2) export PATH=/usr/local/cuda-10.0/bin${PATH:+:${PATH}}
export LD_LIBRARY_PATH=/usr/local/cuda-10.0/lib64${LD_LIBRARY_PATH:+:${LD_LIBRARY_PATH}}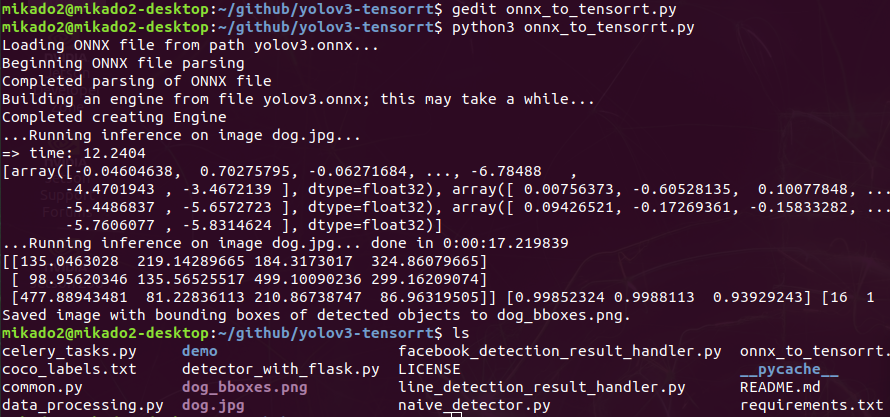
$python3 naive_detector.py –engine yolov3.engine

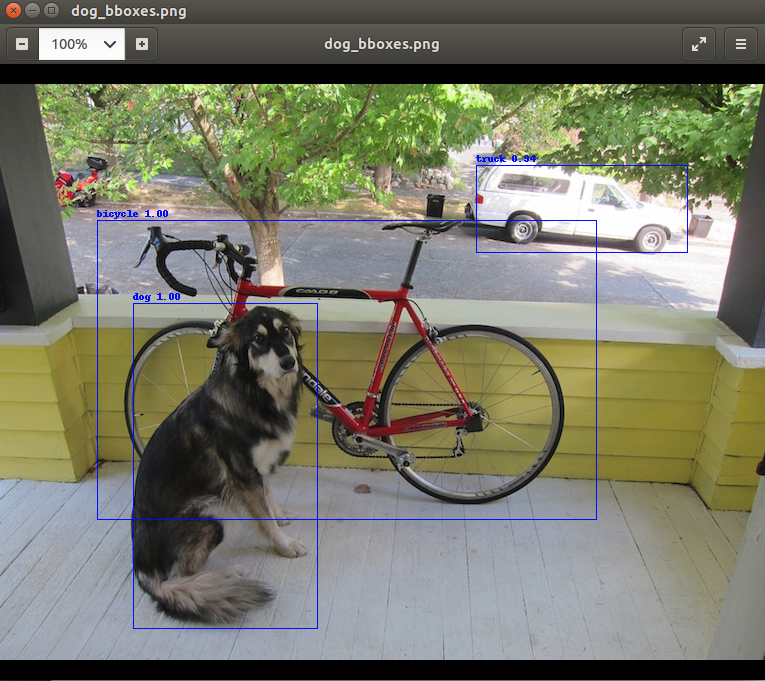

TRY This ==> https://github.com/jkjung-avt/tensorrt_demos
– Yolov3 weights to Onnx : PASSED Darknet Site (20200227)
– Yolov3 weights to Onnx : PASSED Darknet myTraining (20200227)
Inference – OK
yolo3 inference sample => default 608*608 => Prepare 608*608
$python3 naive_detector.py –engine yolov3.engine




+ There are no comments
Add yours